3 Dojo Growth Myths That Are Costing You Students | Ad Ronin
 Marc Harvey Lacap
 Published on: 23/06/2025
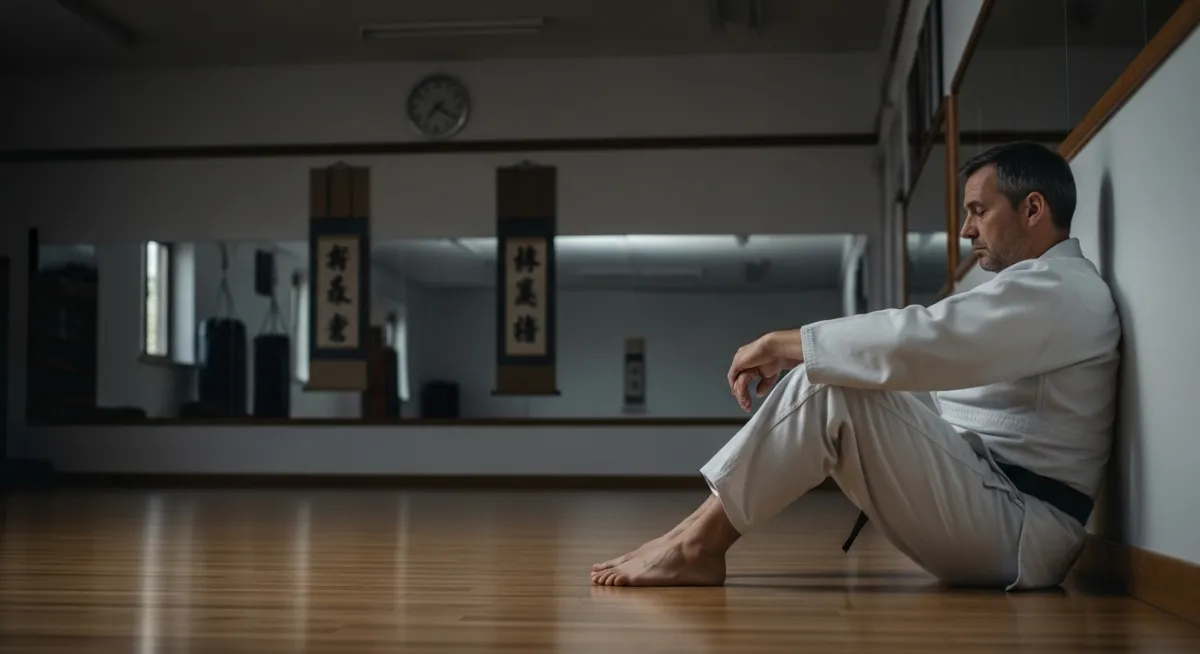
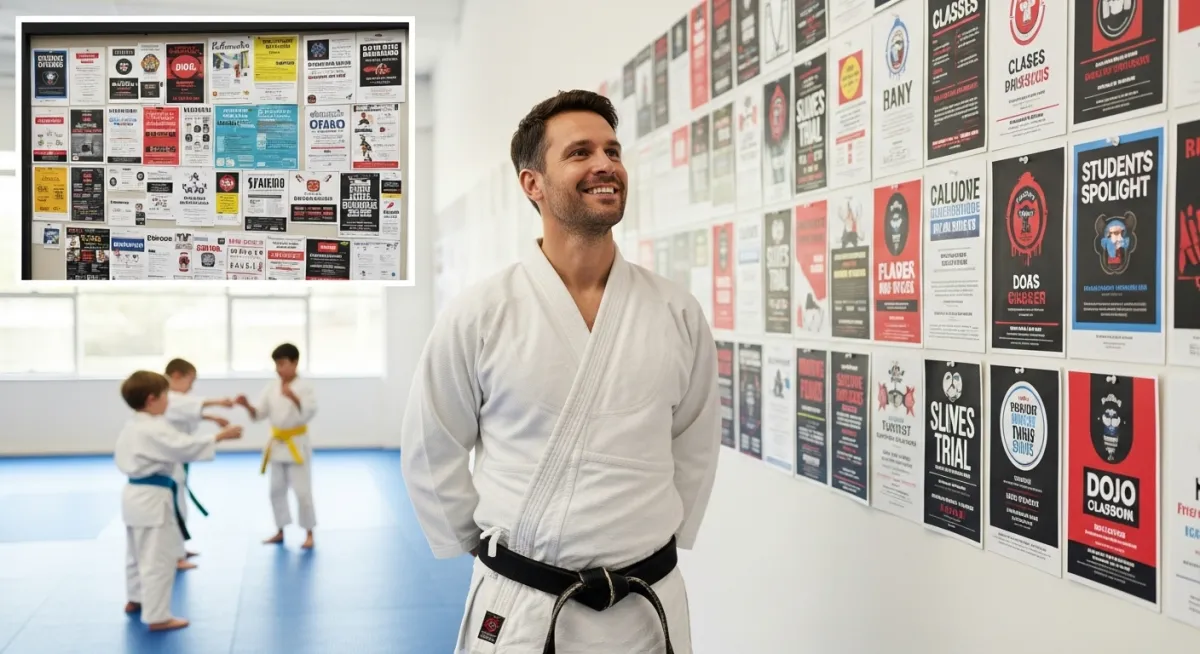
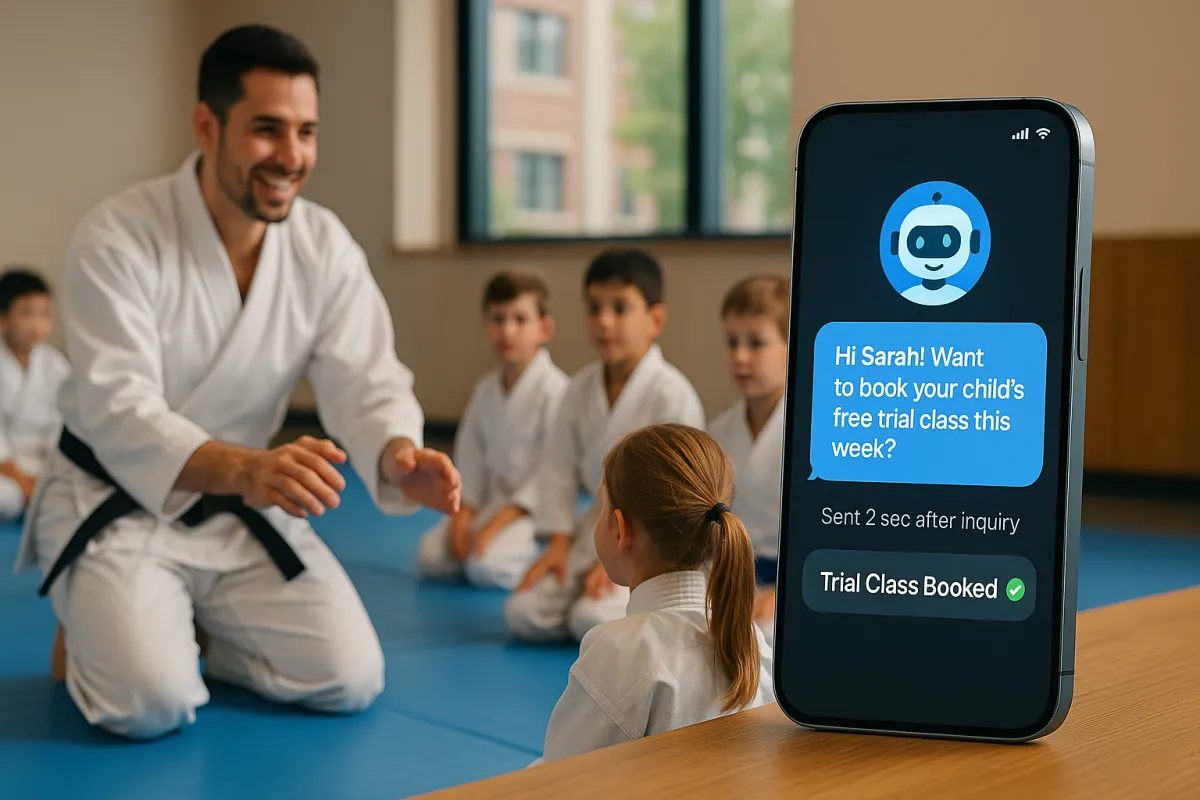
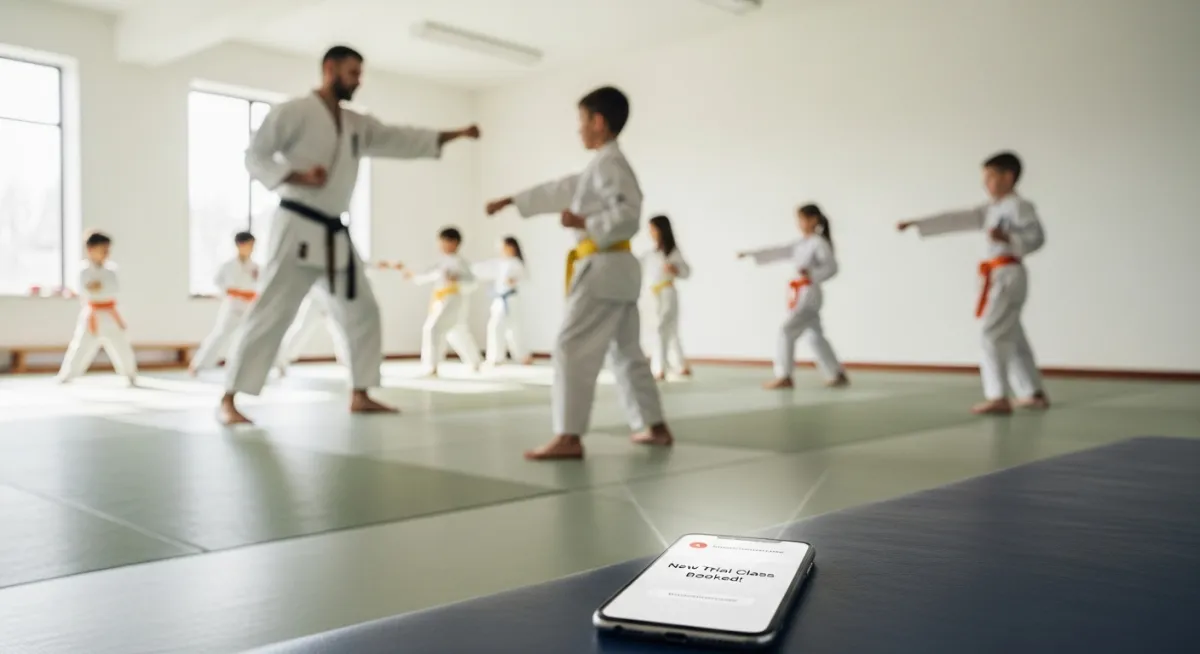
Are these common myths keeping your dojo from growing? Discover how AI automation helps martial arts schools book more trials and stop losing students—without extra staff.
Online Basics